Setting up one of iONLINE's POP accounts on Outlook 2016 for Windows is easy:
1. Navigate to the Control Panel. To do this on Windows 10 Right click on the windows logo on the bottom left corner of the screen and then select "Control Panel".

2. In control panel make sure your "view by" section is set to icons and then Find the Mail application and open it.

3. Once the Mail app is open click on the Add button and type in a profile name. We going to use the name "iONLINE" and then click "OK"

4. In "Account Setup" Select "Manual setup or additional server types" and click Next.


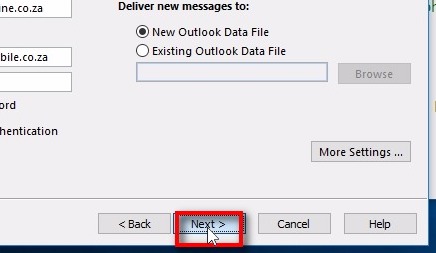
6. Fill in all the relevant information:
Your Name: Your full name
Email address: Full email address
Account Type: POP3
Incoming Mail server: hosting-01.ionline.co.za
Outgoing mail server(SMTP): hosting-01.ionline.co.za
Username: Full email address
Password: Email address password found on your plesk panel or provided to you by your IT department/iONLINE.
Click "More settings"

7. Click on the "Outgoing Server" Tab and then select "My Outgoing Server(SMTP) Requires Authentication. Then click ok.

8. You can test if the POP account connects by clicking on “Test Account Settings”
A test Box will open up. When the test complete’s you should see two tickets in the tasks Section. You can then click close.

9. Click on the Next button on the bottom of the window. A test will be done to confirm that the account is set up correctly. Once the setup is done click “Close”.
10. Now Click “Finish”

You have successfully setup your POP account on Outlook 2016 for Windows.
If you have any issues please contact iONLINE Support vie our help centre or call our support team for telephonic assistance.
Edwin Watson
Comments